


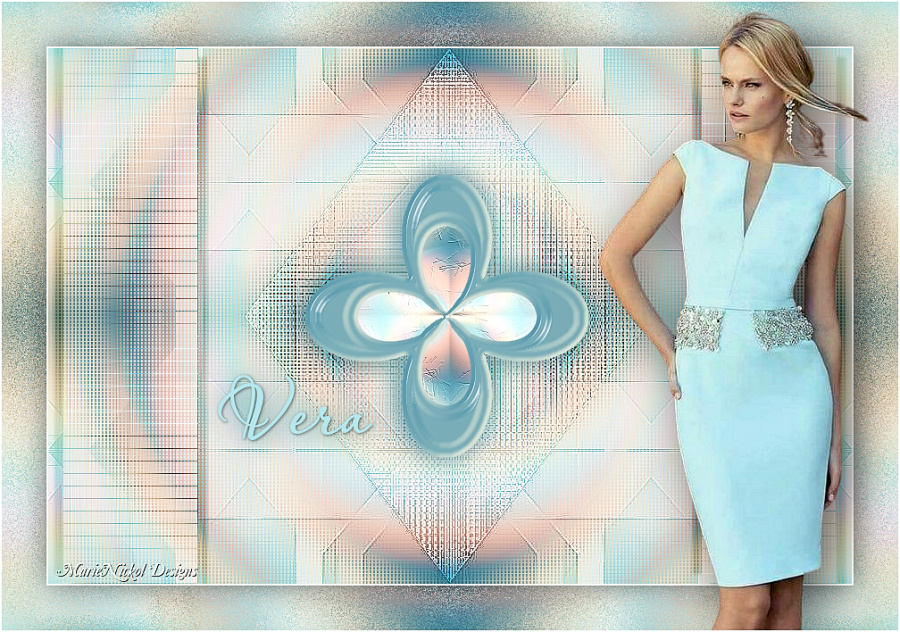
The Tutorial
Step 1
File - New - Open a new Transparent image 900 x 600 pixels
Effects - Plugins - Mehdi - Wavy Lab 1.1

Step 2
Layers - Duplicate
Image - Mirror - Mirror Horizontal
(Older versions of PSP - Image - Mirror)
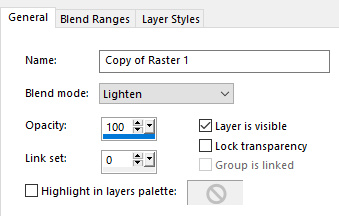
In your Layer Properties - set the Blend mode to Lighten
Step 3
Layers - Merge - Merge Visible
Step 4
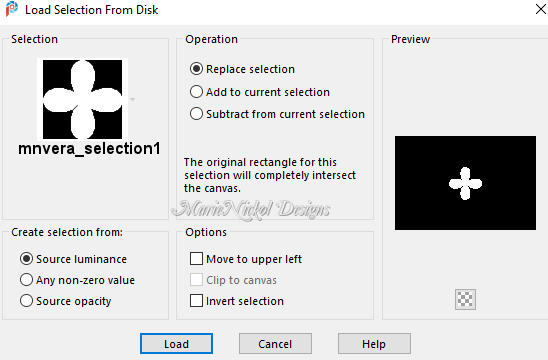
Selections - Load/Save Selection - Load Selection From Disk
Look for and load the selection - mnvera_selection1
Step 5
Selections - Promote Selection to Layer
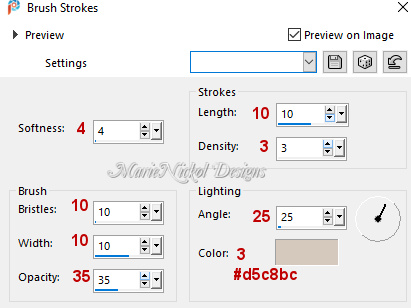
Effects - Art Media Effects - Brush Strokes
Step 6
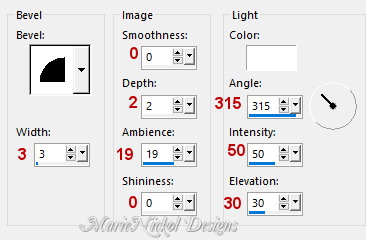
Effects - 3D Effects - Inner Bevel
Selections - Select None
Step 7
Layers - New Raster Layer
Step 8
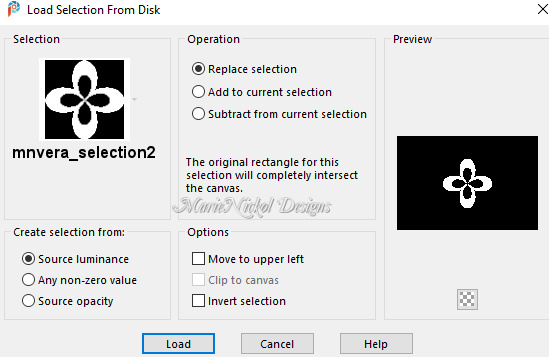
Selections - Load/Save Selection - Load Selection From Disk
Look for and load the selection - mnvera_selection2
Flood fill tool /Fill in the Selection with the Foregound Color 1 ![]() #cb9ca1
#cb9ca1
Step 9
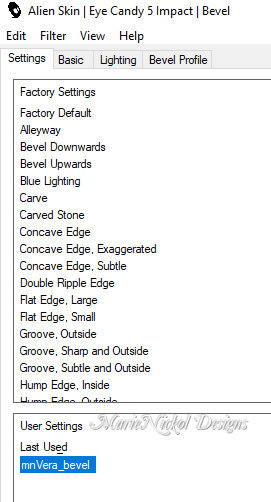
Effects - Plugins - Alien Skin Eye Candy 5 - Impact - Bevel
In the User Settings look for preset mnVera_bevel provided in the materials and click OK
Note: If the Preset doesn't work for you, use these settings in the Basic Tab and the Lighting Tab:
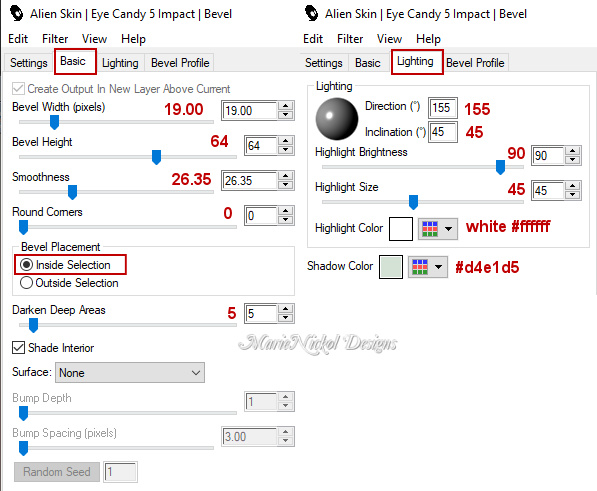
In the Lighting tab - the Shadow Color is #d4e1d5
Selections - Select None
Step 10
Layers - Merge - Merge Down
Layers - Duplicate
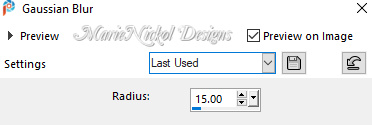
Adjust - Blur - Gaussian Blur (Radius 15)
In your Layer Properties - set the Blend mode to Multiply
Layers - Arrange - Move Down
Step 11
Activate the bottom layer - Merged
Step 12
Layers - New Raster Layer
Flood fill tool /Fill in the Layer with Color 3 ![]() #d5c8bc
#d5c8bc
Step 13
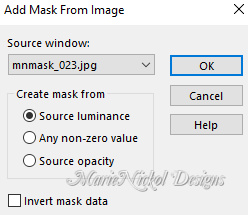
Open mask - mnmask_023.jpg
Layers - New Mask Layer - From Image (Invert mask data not checked)
Layers - Merge - Merge Group
Effects - Edge Effects - Enhance More
In your Layer Properties - set the Blend mode to Overlay
Step 14
The mask layer - Group - Raster 1 - is active
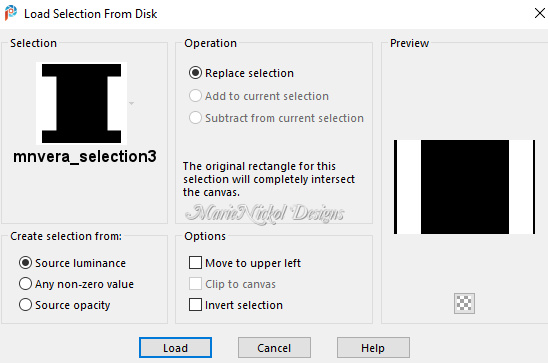
Selections - Load/Save Selection - Load Selection From Disk
Look for and load the selection - mnvera_selection3
Step 15
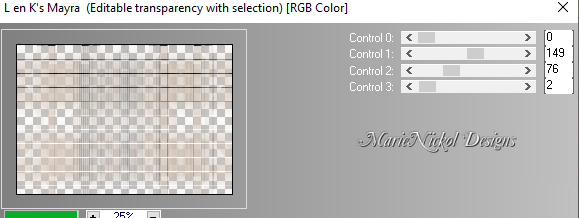
Effects - Plugins - L en K landksiteofwonders - Mayra (default settings)
Step 16
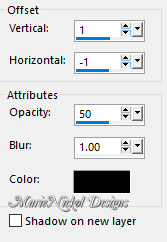
Effects - 3D Effects - Drop Shadow (10/10/30/5.00) color black #000000 - Shadow on new layer not checked
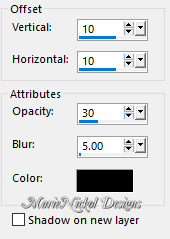
Effects - 3D Effects - Drop Shadow (-10/-10/30/5.00) color black #000000 - Shadow on new layer not checked

Step 17
Selections - Select None
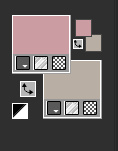
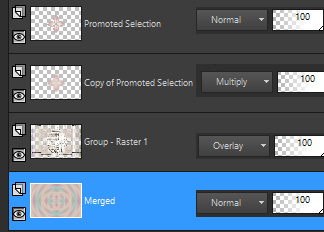
Your layers look like this:
Step 18
Activate the bottom layer - Merged
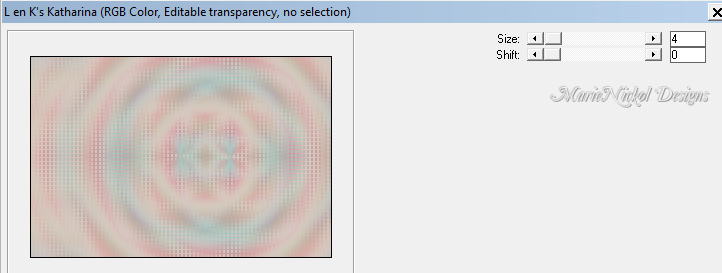
Effects - Plugins - L en K landksiteofwonders - Katharina (default settings)
Step 20
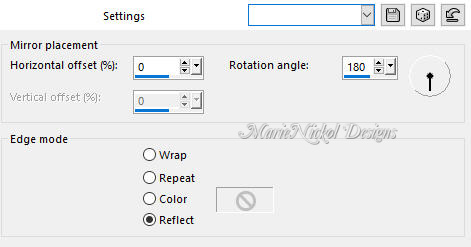
Effects - Reflection Effects - Rotating Mirror
Step 21
Layers - Merge - Merge Visible
Edit - Copy
Step 22
Image - Add Borders - 2 px - Symmetric checked - color white #ffffff
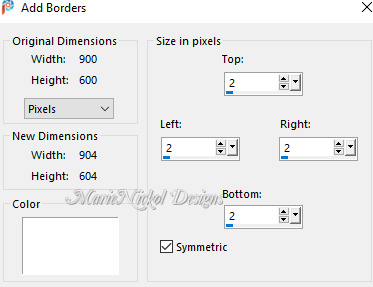
Step 23
Selections - Select All
Image - Add Borders - 50 px - Symmetric checked - color white #ffffff
Selections - Invert
Edit - Paste - Paste into Selection
Step 24
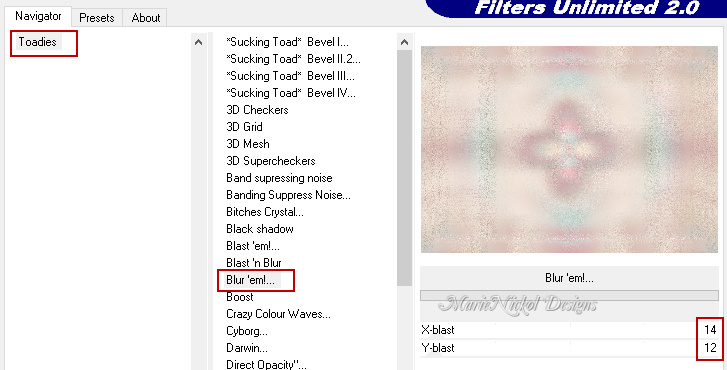
Effects - Plugins - Toadies - Blur'em! (default settings)
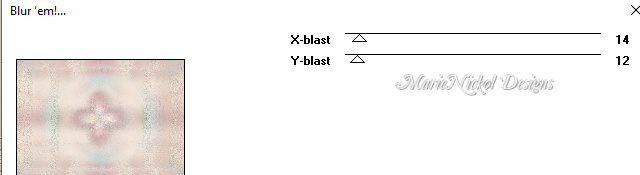
or
Effects - Plugins - <I.C.NET Software> - Filters Unlimited 2.0 - Toadies - Blur'em! (default settings)
Step 26
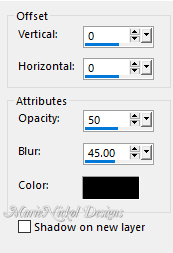
Selections - Invert
Effects - 3D Effects - Drop Shadow (0/0/50/45.00) color black #000000 - Shadow on new layer not checked
Selections - Select None
Step 25
Open the character tube - 826-vmtubes
Edit - Copy
Edit - Paste - Paste As New Layer on your working image
Image - Resize - 70% - Resize All Layers - Not Checked
Image - Resize - 90% - Resize All Layers - Not Checked
(Note: Depending on your tube resize according to your own discretion)
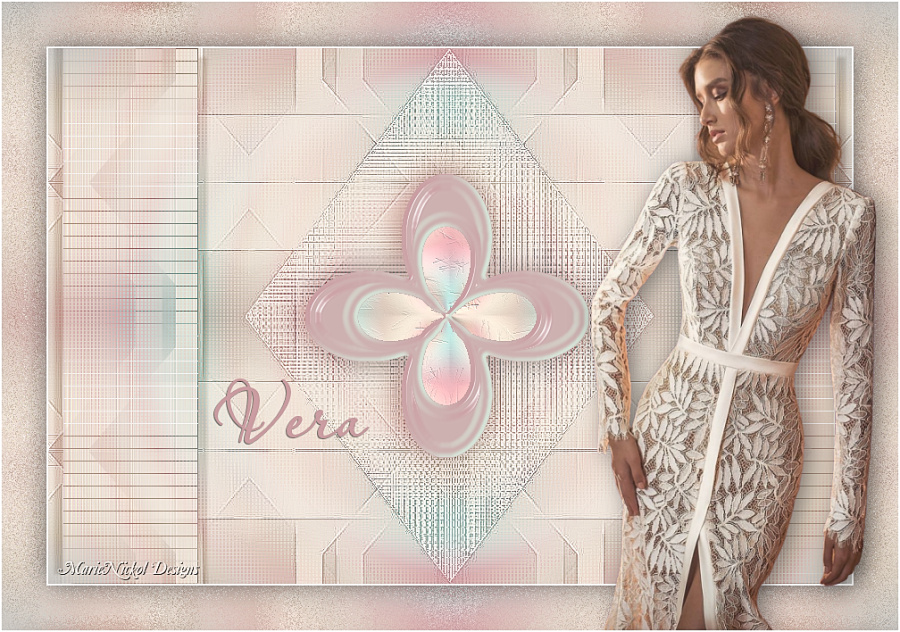
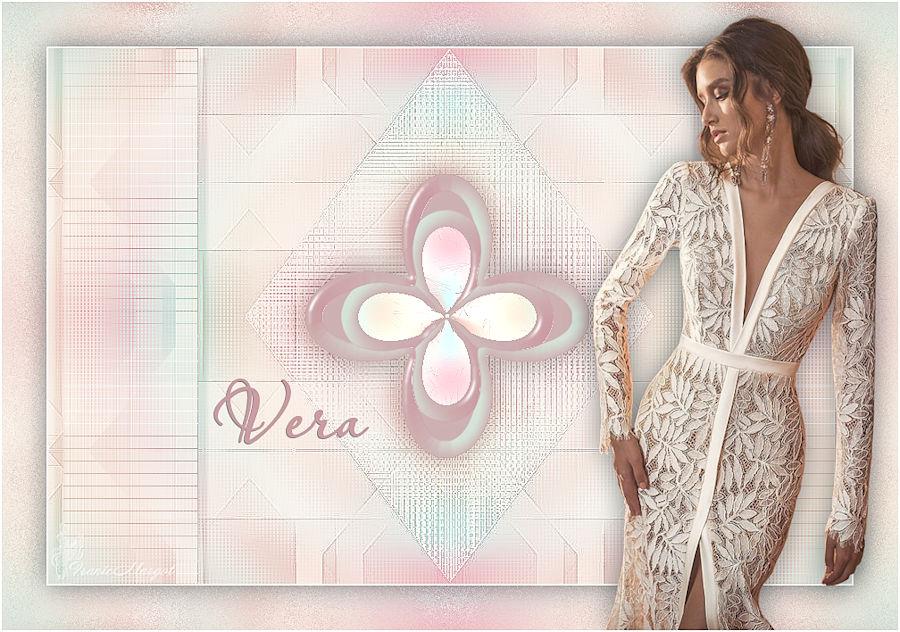
Position the tube to the bottom right as shown on the final result above
Apply drop shadow to your own liking
Step 27
Open the wordart tube - mnwordart
Edit - Copy
Edit - Paste - Paste As New Layer on your working image
Activate the Color Changer Tool ![]()
Colorize by clicking once with color 1 ![]() #cb9ca1
#cb9ca1
(Note: You may colorize at your discretion)
Activate the Pick Tool (K) ![]()
Enter these values for positions X and Y on the Toolbar
X: 238.00 Y: 422.00
![]()
Press M on your keyboard to release the Pick Tool
Effects - 3D Effects - Drop Shadow (1/-1/50/1.00) color black #000000 - Shadow on new layer not checked
Step 28
Image - Add Borders - 2 px - Symmetric checked - color white #ffffff
Step 29
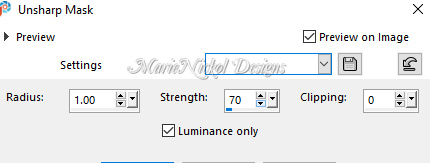
Adjust - Sharpness - Unsharp Mask
Step 30
Layers - New Raster Layer
Add your name or watermark
Layers - Merge - Merge All (Flatten)
Image - Resize - 900 pixels width (the height will adapt)
File - Export - Save as JPG file
***
I hope you enjoyed this tutorial.
If you do this tutorial, please email your version to me
my email address -
~~~~~~~~~~
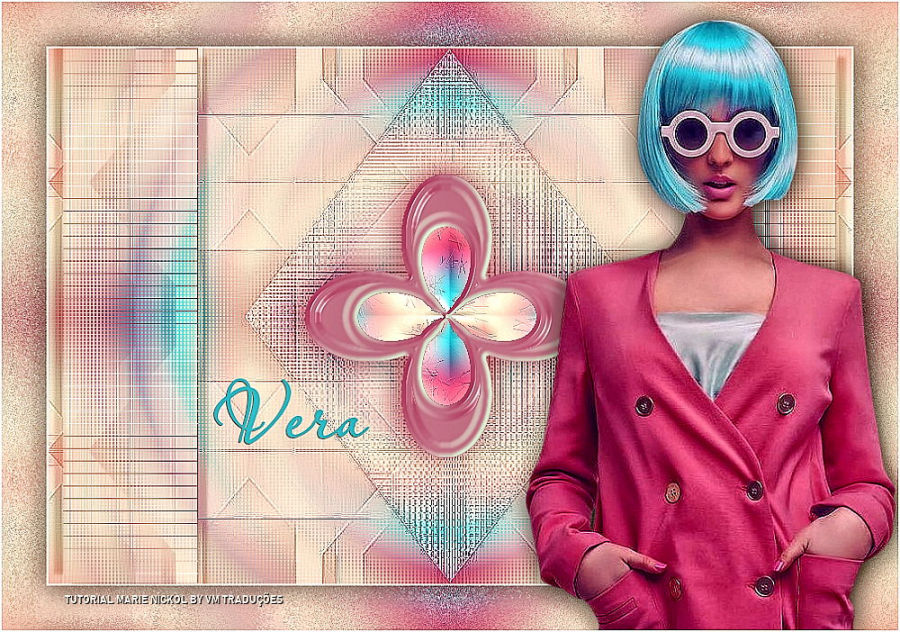
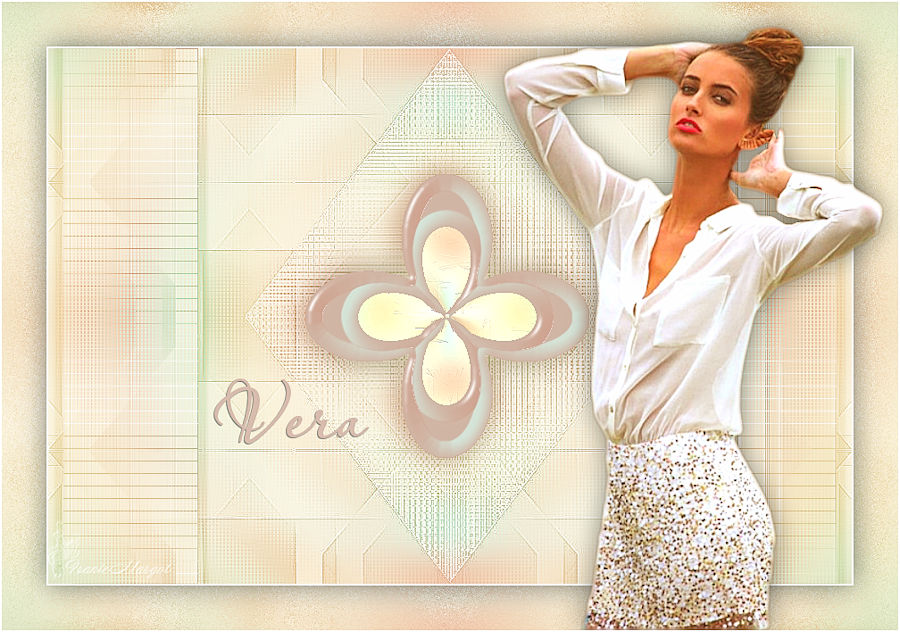
My second version in a different color
Tube used - woman by Vera Mendes
~~~~~~~~~~
Your Versions
Thank you so much Vera Mendes for your magnificent version
~~~~~~~~~~
Thank you so much Franie Margot for your magnificent versions
~~~~~~~~~~
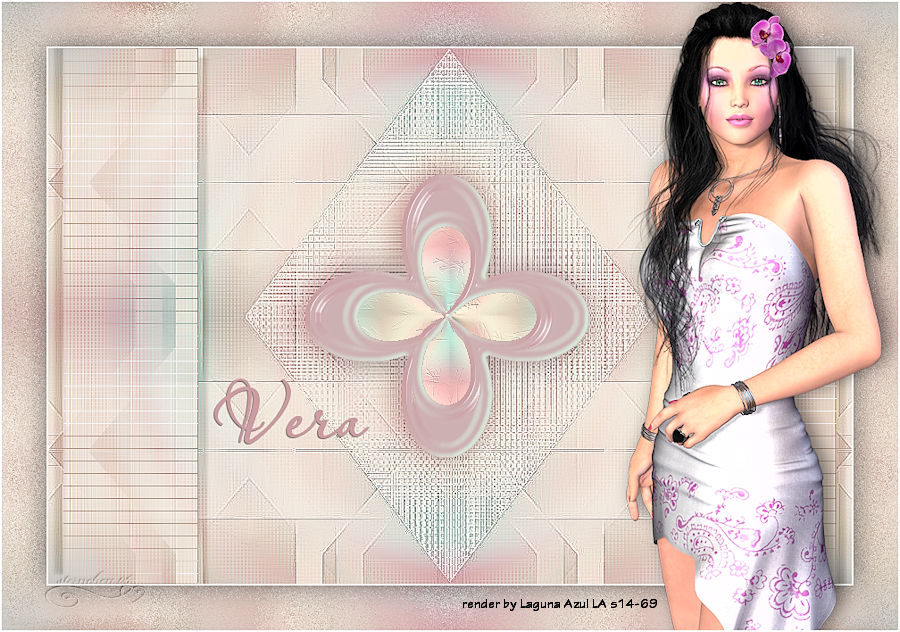
Thank you so much Andrea (Sternchens) for your magnificent version
~~~~~~~~~~
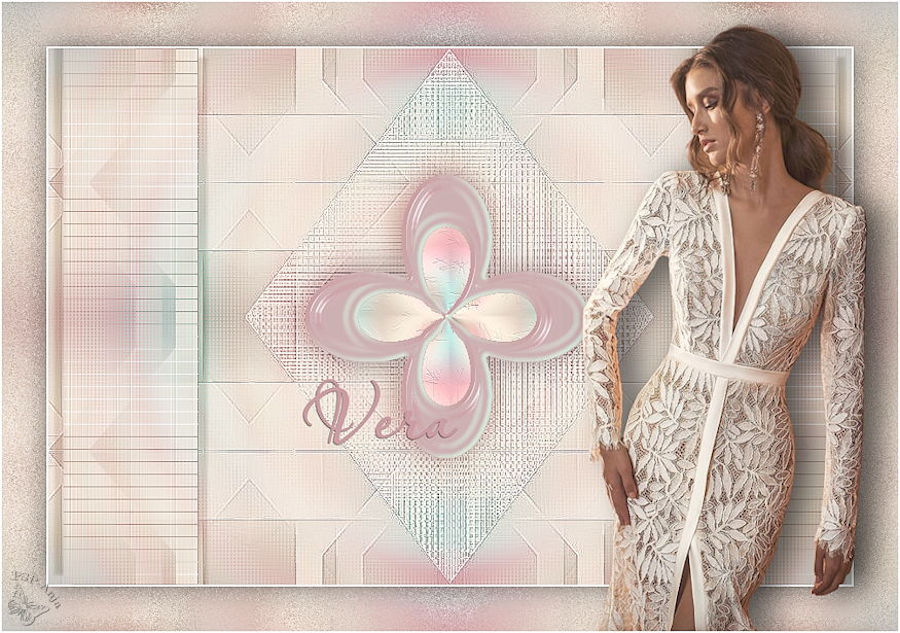
Thank you so much Anja for your magnificent version
~~~~~~~~~~
1 2
![]()