
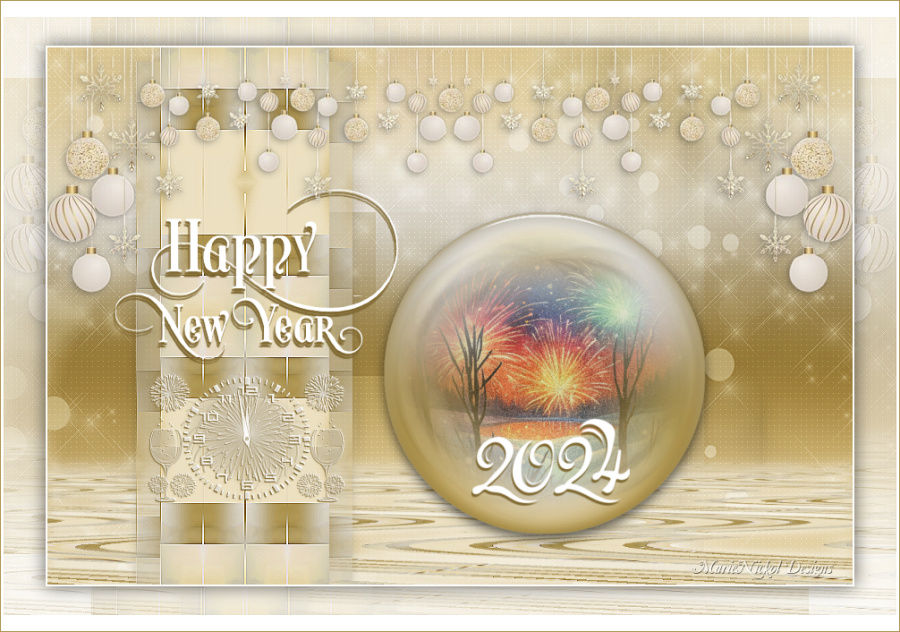


The Tutorial
Step 1
File - New - Open a new Transparent image 900 x 600 pixels
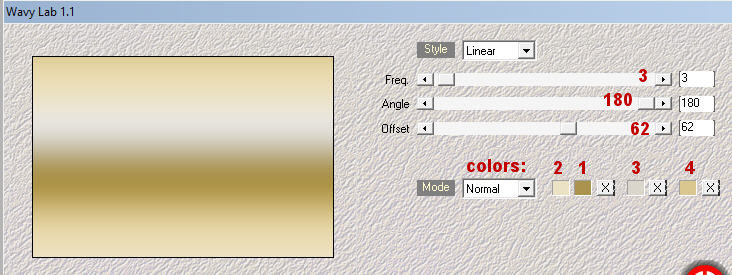
Effects - Plugins - Mehdi - Wavy Lab 1.1
Step 2
Layers - Duplicate
Effects - Plugins - Flaming Pear - Flexify 2
Input - equirectangular ; Output - mirror ball
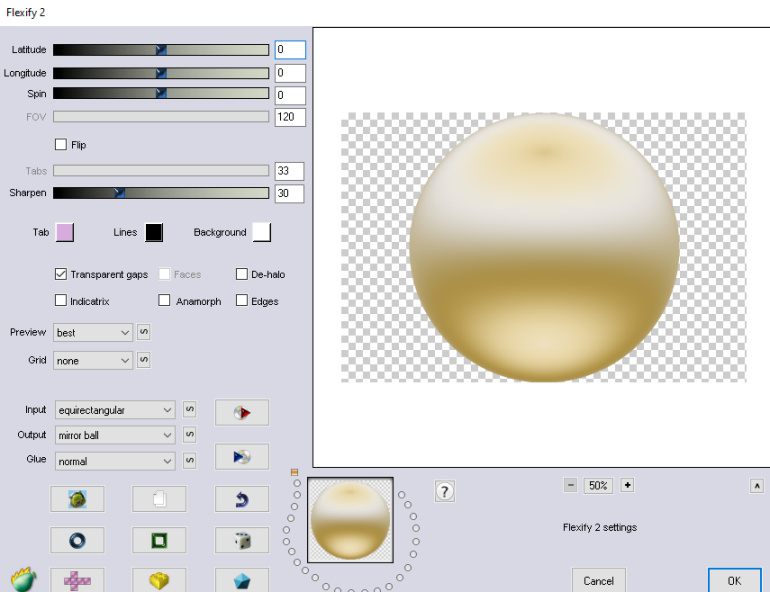
Image - Resize - 20% - Resize All Layers - Not Checked
Step 3
Activate the Pick Tool (K) ![]() Mode: Scale
Mode: Scale
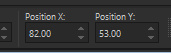
Enter these values for Positions X and Y,
X: 82.00 Y: 53.00
Press M on your keyboard to release the Pick Tool
Step 4
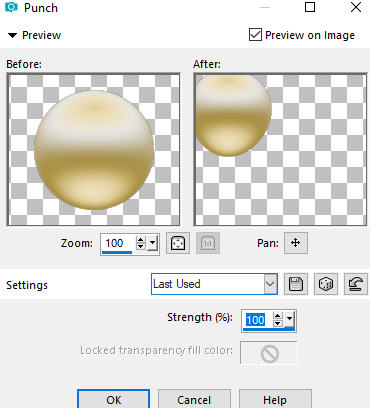
Effects - Distortion Effects - Punch
Step 5
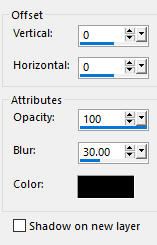
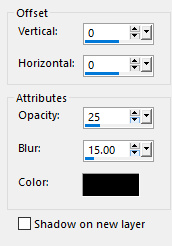
Effects - 3D Effects - Drop Shadow (0/0/100/30.00) color Black - Shadow on new layer not checked
Step 6
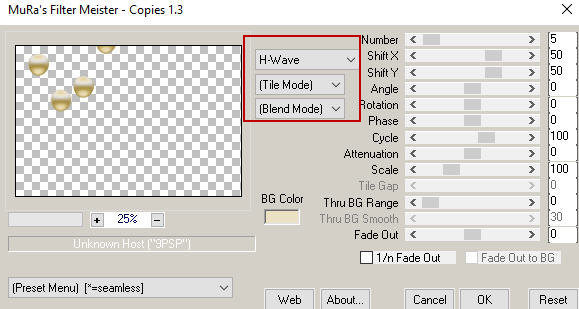
Effects - Plugins - MuRa's Meister - Copies
Layers - Duplicate
Image - Flip
Layers - Merge - Merge Down
Step 7
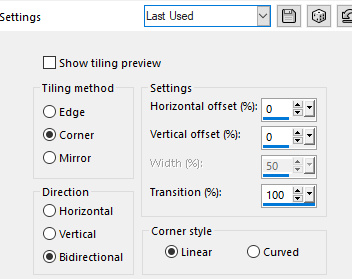
Effects - Image Effects - Seamless Tiling
Layers - Merge - Merge Down
Step 8
Adjust - Blur - Motion Blur

Step 9
Effects - Plugins - <I.C.NET Software> - Filters Unlimited 2.0 - &<Bkg Designer sf101> - Cruncher

Step 10
Layers - Duplicate
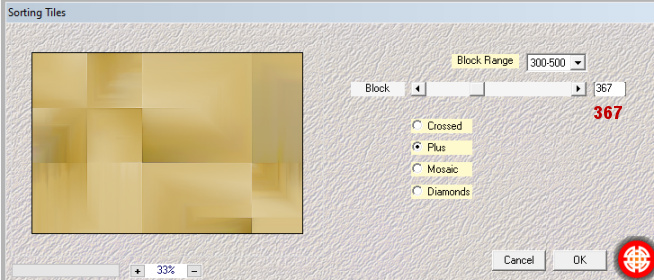
Effects - Plugins - Mehdi - Sorting Tiles
Adjust - Sharpness - Sharpen
In your Layer Properties - set the Blend mode to Multiply and the Opacity to 50%
Step 11
Activate the bottom layer - Raster 1
Layers - Duplicate
Layers - Arrange - Bring to Top
Step 12
Effects - Plugins - Flaming Pear - Flexify 2 - the same settings as in Step 2
Step 13
Selections - Select All
Selections - Float
Selections - Defloat
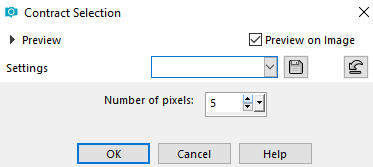
Selections - Modify - Contract 5 px
Layers - New Raster Layer
Step 14
Open tube - mnmistedimage23
Edit - Copy
Edit - Paste - Paste into Selection on your working image
In your Layer Properties - set the Opacity of this layer to 70 %
Adjust - Brightness and Contrast - Curves - Darken
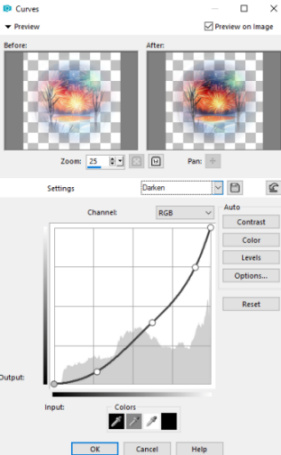
Note: if you use your own misted image you may choose lighten or skip this step
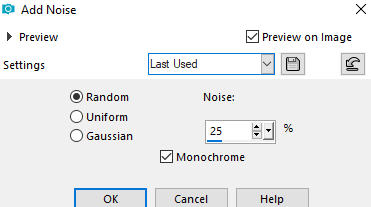
Adjust - Add/Remove Noise - Add Noise
Selections - Select None
Layers - Merge - Merge Down
Step 15
Image - Resize - 60% - Resize All Layers - Not Checked
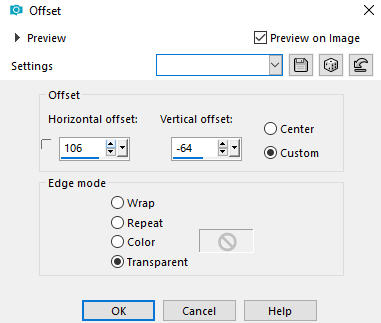
Effects - Image Effects - Offset
Step 16
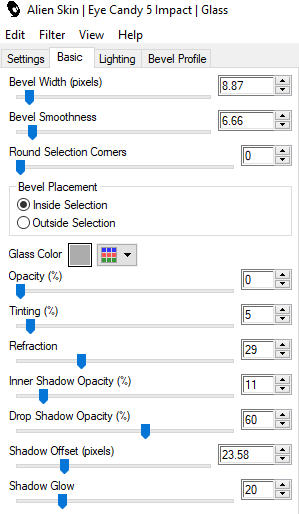
Effects - Plugins - Alien Skin - Eye Candy 5 - Impact - Glass
In the User Settings look for preset - hny2024_glass_mn - and click OK
Note: If the Preset doesn't work for you, use these settings in the Basic Tab:
Step 17
Activate the layer underneath - Copy of Raster 1
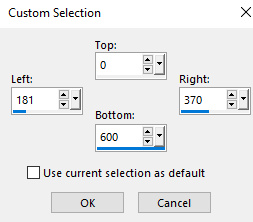
Activate the Selection Tool (S) - Custom Selection ![]()
Selections - Promote Selection to Layer
Step 18
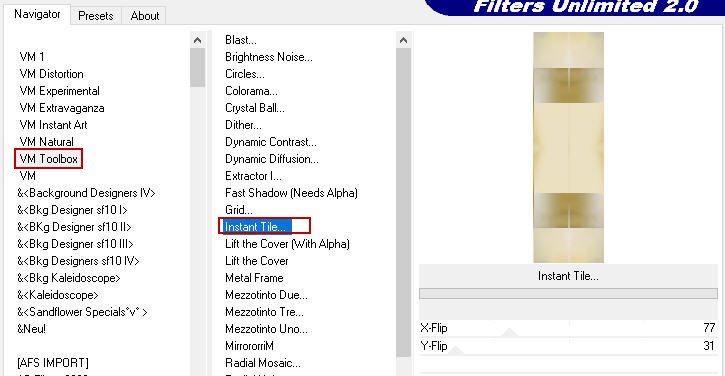
Effects - Plugins - <I.C.NET Software> - Filters Unlimited 2.0 - VM Toolbox - Instant Tile (default settings)
Step 19
Repeat Filters Unlimited 2.0 - VM Toolbox - Instant Tile (default settings)

Effects - Edge Effects - Enhance
Selections - Select None
Step 20
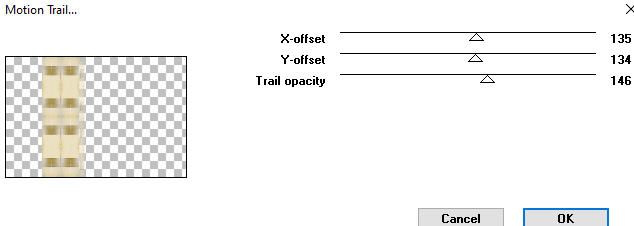
Effects - Plugins - Toadies - Motion Trail (default settings)
Step 21
Effects - Plugins - Toadies - Motion Trail
change the X-offset to 120

Step 22
Effects - Image Effects - Offset

Effects - 3D Effects - Drop Shadow 0/0/25/15/ color black #000000 - Shadow on new layer not checked
Step 23
Layers - Duplicate
Image - Free Rotate
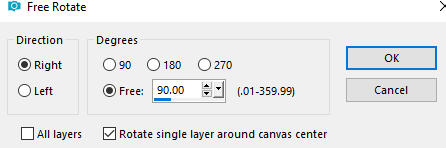
Image - Flip
Step 24
Effects - Distortion Effects - Wave
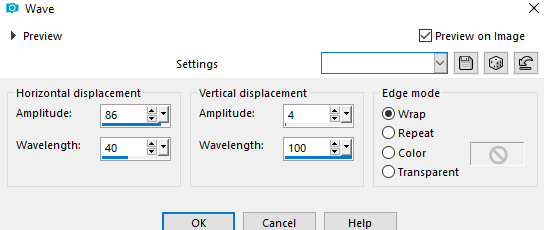
Image - Mirror
Step 25
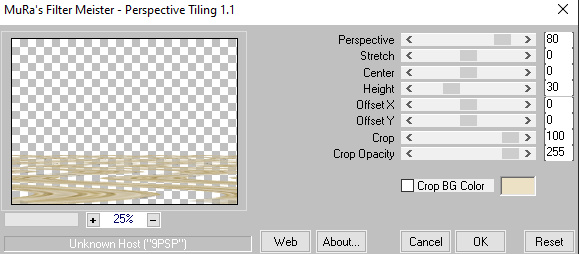
Effects - Plugins - MuRa's Meister - Perspective Tiling
Activate the Magic Wand Tool (Tolerance 0 and Feather 0) ![]()
Click on the upper empty space of the layer with the Magic Wand to select it
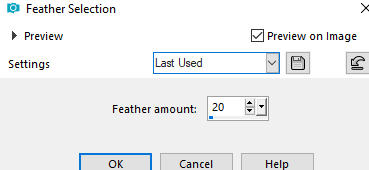
Selections - Modify - Feather - Feather amount 20
Press the DELETE key on your keyboard - 2 times
Selections - Select None
Step 26
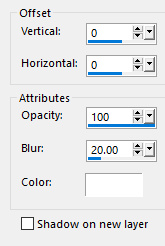
Effects - 3D Effects - Drop Shadow 0/0/100/20/ color white #ffffff - Shadow on new layer not checked
Layers - Arrange - Move down
Step 27
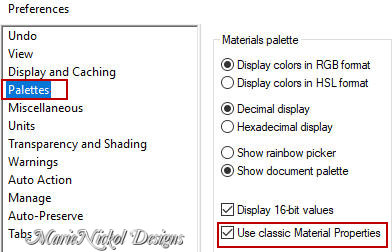
Materials Properties: Set your Foreground Color to color white #ffffff
Layers - New Raster Layer
Flood fill tool /Fill in the Layer with the Foregound Color white #ffffff
Step 28
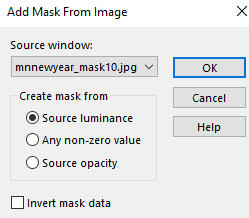
Open mask - mnnewyear_mask10
Layers - New Mask Layer - From Image (Invert mask data not checked)
Effects - Edge Effects - Enhance
Layers - Merge - Merge Group
Image - Flip
Layers - Arrange - Move Down
In your Layer Properties - set the Blend mode to Soft Light
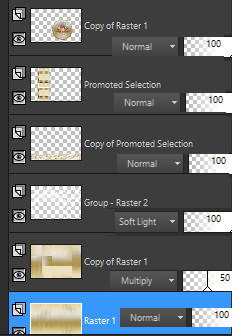
Your Layers look like this:
Step 29
Activate the bottom layer - Raster 1
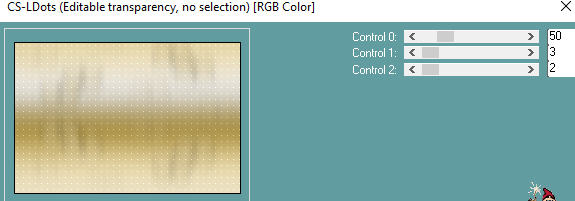
Effects - Plugins - Carolaine and Sensibility - CS-LDots (default settings)
Step 30
Layers - Merge - Merge Visible
Step 31
Open tube - mn2024_text
Edit - Copy
Edit - Paste - Paste As New Layer on your working image
Activate the Pick Tool (K) ![]() Mode: Scale
Mode: Scale
Enter these values for Positions X and Y,
X: 475.00 Y: 415.00
![]()
Press M on your keyboard to release the Pick Tool
Step 32
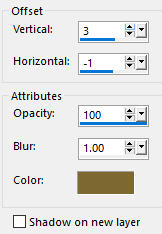
Effects - 3D Effects - Drop Shadow 3/-1/100/1/ color #7f6831 - Shadow on new layer not checked
Step 33
Open tube - mnhappynewyear_text2
Edit - Copy
Edit - Paste - Paste As New Layer on your working image
Activate the Pick Tool (K) ![]() Mode: Scale
Mode: Scale
Enter these values for Positions X and Y,
X: 74.00 Y: 158.00
![]()
Press M on your keyboard to release the Pick Tool
Effects - 3D Effects - Drop Shadow 3/-1/100/1/ color #7f6831 - Shadow on new layer not checked
Step 34
Open tube - mnclock_newyear
Edit - Copy
Edit - Paste - Paste As New Layer on your working image
Activate the Pick Tool (K) ![]() Mode: Scale
Mode: Scale
Enter these values for Positions X and Y,
X: 111.00 Y: 363.00
Press M on your keyboard to release the Pick Tool
Step 35
Open tube - mnnxmasballs3
Edit - Copy
Edit - Paste - Paste As New Layer on your working image
Objects - Align - Top
(Note: If you do not have the Command Objects on your version of PSP use the Pick Tool (K)
Activate the Pick Tool (K) - Enter these values for positions X and Y on the Toolbar:
X 0.00 Y 0.00
Press M to release the Pick Tool)
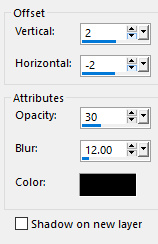
Effects - 3D Effects - Drop Shadow (2/-2/30/12/) color black #000000 - Shadow on new layer not checked
Adjust - Sharpness- Sharpen
Step 36
Image - Add Borders - 2px - Symmetric checked - color white #ffffff
Selections - Select All
Image - Add Borders - 50px - Symmetric checked - color white #ffffff
Selections - Invert
Step 37
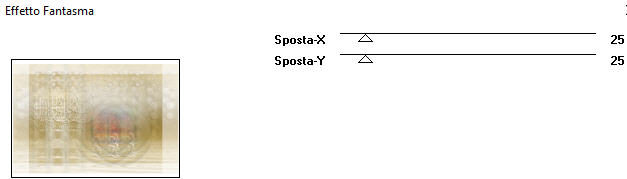
Effects - Plugins - Italian Editors Effect - Effecto Fantasma
Adjust - Sharpness- Sharpen
Step 38
Selections - Invert
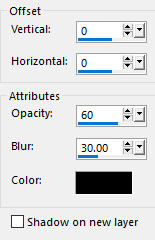
Effects - 3D Effects - Drop Shadow (0/0/60/30/) color black #000000 - Shadow on new layer not checked
Selections - Select None
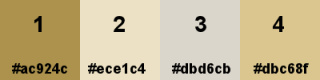
Image - Add Borders - 1px - Symmetric checked - color 1 - ![]() #ac924c
#ac924c
Step 39
Layers - New Raster Layer
Add your name or watermark
Step 40
Layers - Merge - Merge All (Flatten)
Image - Resize - 900 pixels width (the height will adapt)
File - Export - Save as JPG file
***
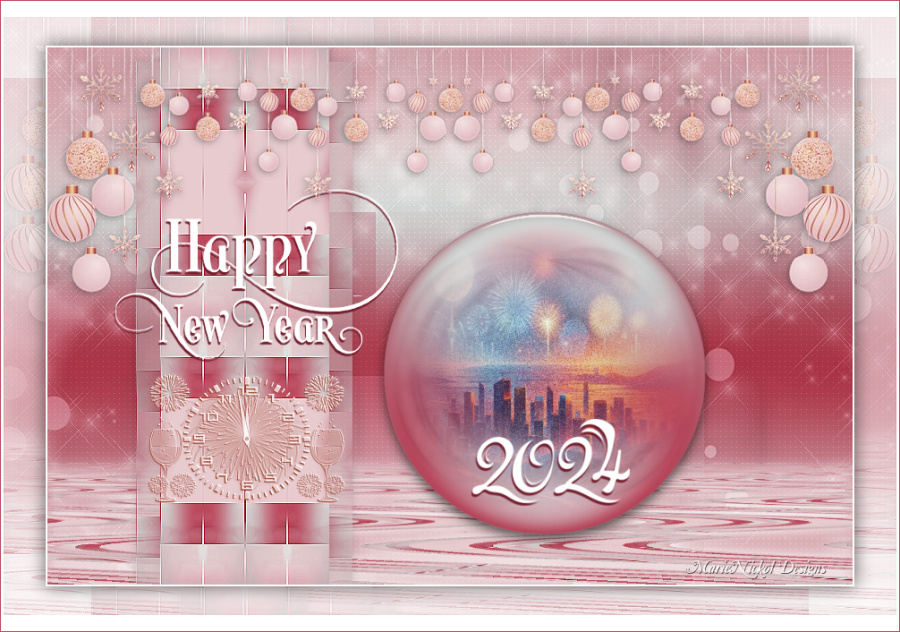
I hope you enjoyed this tutorial.
If you do this tutorial, please email your version to me
my email address -
~~~~~~~~~~
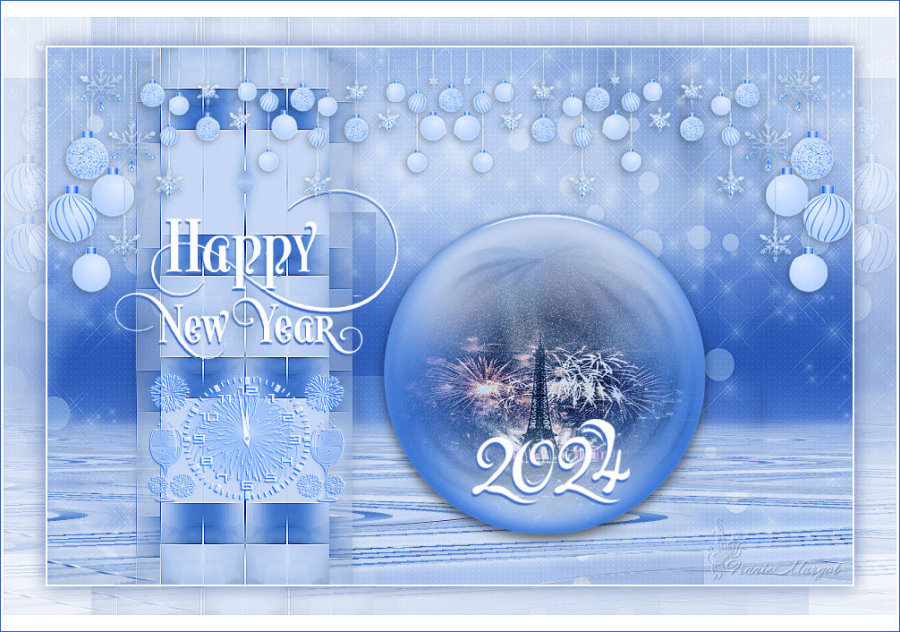
My second version in a different color
Tubes used - my own
~~~~~~~~~~
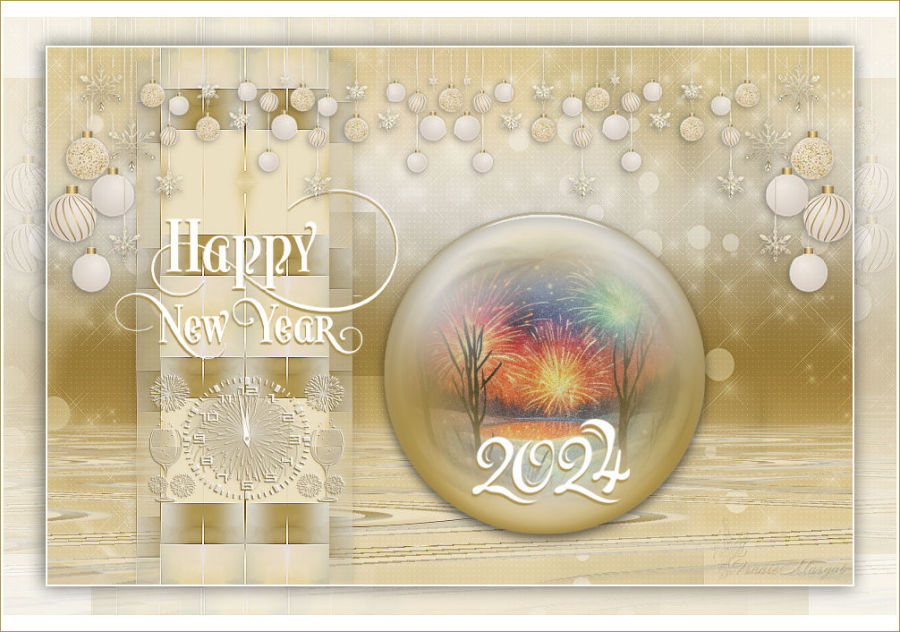
Your Versions
Thank you so much Franie Margot for your magnificent versions
~~~~~~~~~~
1 2
~~~~~~~~~~
![]()