


The Tutorial
Step 1
File - New - Open a new Transparent image 900 x 600 pixels
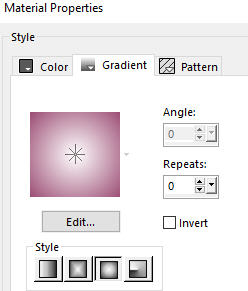
Flood fill tool / Fill in the layer with the Sunburst gradient
Step 2
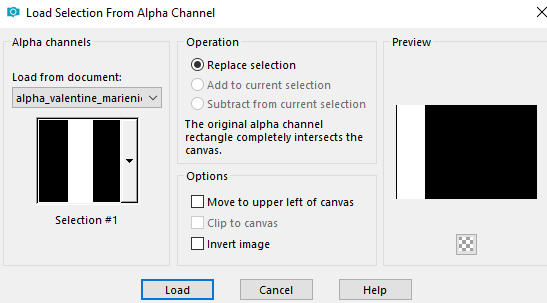
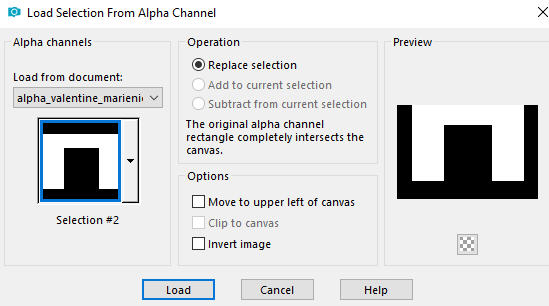
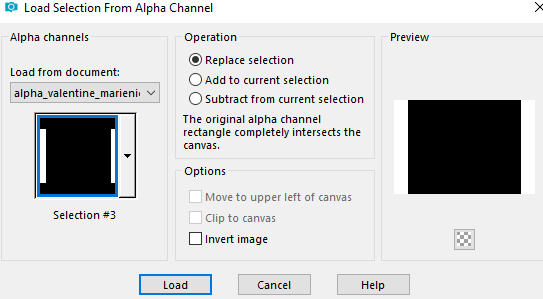
Selections - Load/Save Selection - Load Selection From Alpha Channel
Load Selection 1
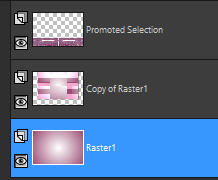
Selections - Promote Selection to Layer
Step 3
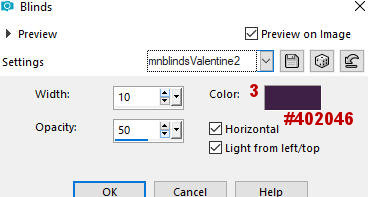
Effects - Texture Effects - Blinds
Selections - Select None
Step 4
Effects - Edge Effects - Enhance
Step 5
Layers - Duplicate
Image - Mirror
Layers - Merge - Merge Down
Step 6
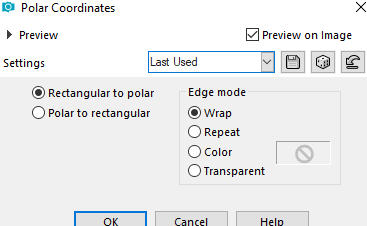
Effects - Distortion Effects - Polar Coordinates
Rectangular to Polar - Wrap
Step 7
Image - Flip (new versions of PSP - Image - Mirror - Mirror Vertical)
Step 8
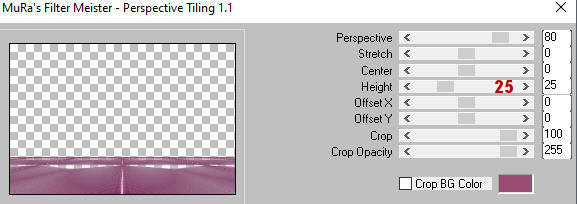
Effects - Plugins - MuRa's Meister - Perspective Tiling
Step 9
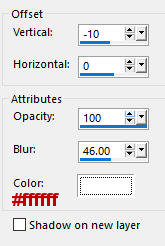
Effects - 3D Effects - Drop Shadow (-10/0/100/46.00) color white #ffffff - Shadow on new layer not checked
Step 10
Activate the bottom layer - Raster 1
Layers - Duplicate
Step 11
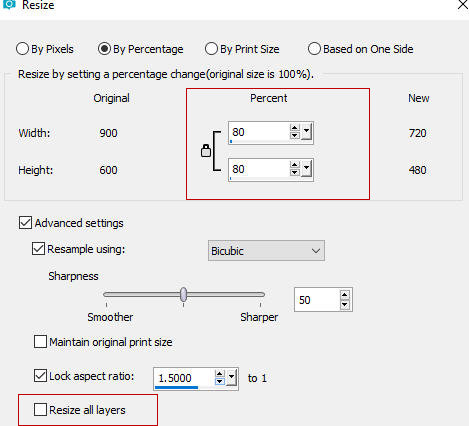
mage - Resize - 80% - Resize All Layers - Not Checked
Step 12
Effects - Plugins - Mehdi - Sorting Tiles

Step 13
Objects - Align - Top
Note: If you do not have the Command Objects on your version of PSP use the Pick Tool (K)![]()
Activate the Pick Tool (K) - Enter these values for positions X and Y on the Toolbar:
X 90 Y 0
![]()
Press M to release the Pick Tool
Step 14
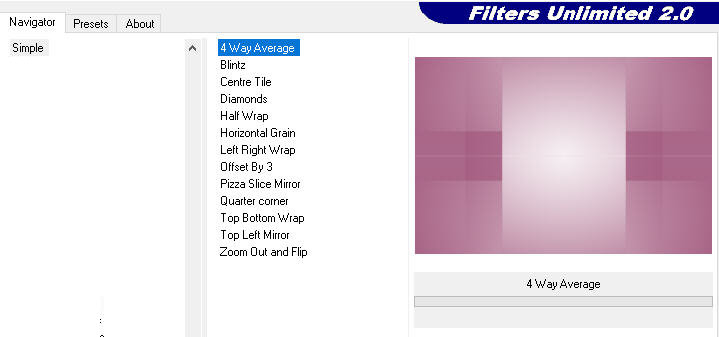
Effects - Plugins - Simple - 4 Way Average
The Filter does not have a window
Here is the effect with Filters Unlimited 2 - Simple - 4 Way Average
Step 15
Selections - Load/Save Selection - Load Selection From Alpha Channel
Load Selection 2
Step 16
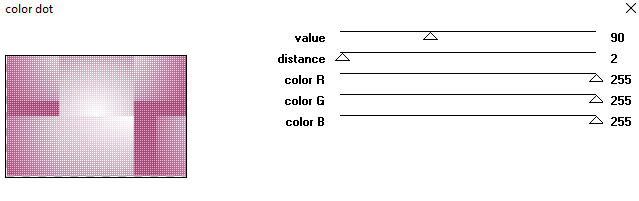
Effects - Plugins - penta.com - color dot (default settings)
Step 17
Selections - Select None
Step 18
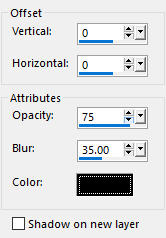
Effects - 3D Effects - Drop Shadow (0/0/75/35.00) color black #000000 - Shadow on new layer not checked
Step 19
Activate the bottom layer - Raster 1
Step 20
Selections - Load/Save Selection - Load Selection From Alpha Channel
Load Selection 3
Step 21
Selections - Promote Selection to Layer
Step 22
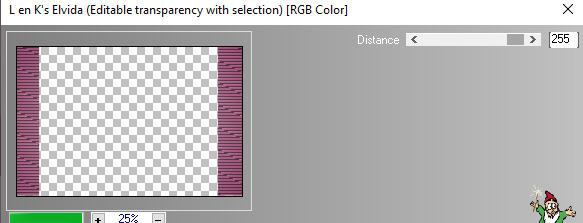
Effects - Plugins - L en K landksiteofwonders - L en K's Elvida
Distance - 255
Step 23
Effects - Edge Effects - Enhance
Selections - Select None
Step 24
Open tube - mntreeheart_misted
Edit - Copy
Edit - Paste - Paste As New Layer on your working image
Layers - Arrange - Move Up (above - Copy of Raster 1)
Step 25
Objects - Align - Top
Note: If you do not have the Command Objects on your version of PSP use the Pick Tool (K)![]()
Activate the Pick Tool (K) - Enter these values for positions X and Y on the Toolbar:
X 104 Y 0
Press M to release the Pick Tool
(When using your own misted image make it the same size to be position within the Copy of Raster 1)
Step 26
Activate the top layer - Promoted Selection
Open tube - mngirl17
Edit - Copy
Edit - Paste - Paste As New Layer on your working image
Image - Resize - 75% - Resize All Layers - Not Checked
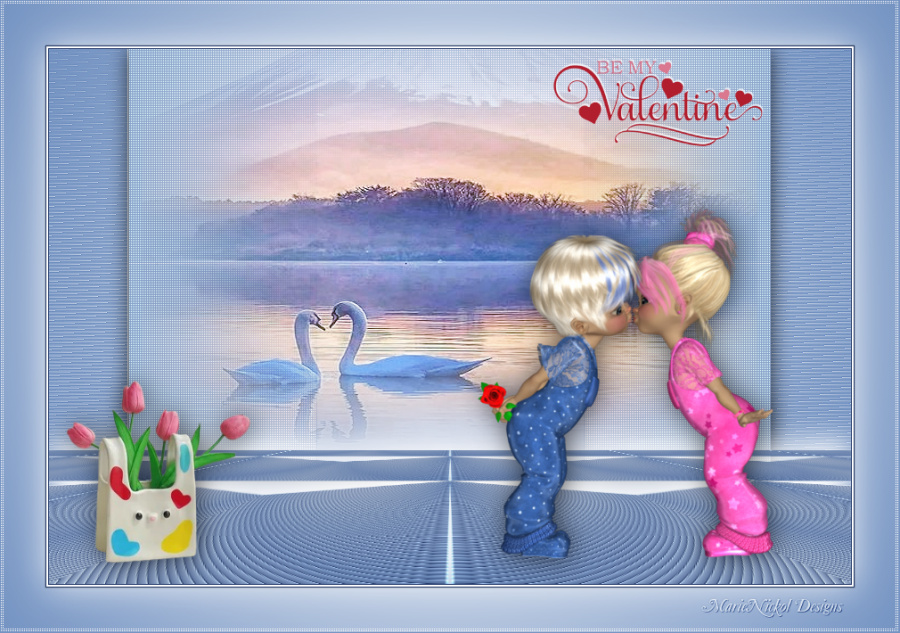
Position the tube at the bottom right as shown on the final result
Step 27
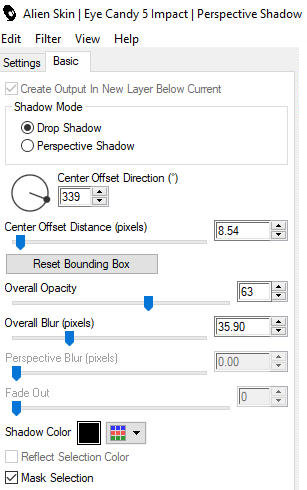
Effects - Plugins - Alien Skin Eye Candy 5 - Impact - Perspective shadow
Use these settings in the Basic Tab:
Step 28
Open tube - mnboy19
Edit - Copy
Edit - Paste - Paste As New Layer on your working image
Image - Resize - 75% - Resize All Layers - Not Checked
Position the tube at the bottom left as shown on the final result
Step 29
Effects - Plugins - Alien Skin Eye Candy 5 - Impact - Perspective shadow
Use the same settings in the Basic Tab as in Step 27 above
Step 30
Open the wordart tube - mntext
Edit - Copy
Edit - Paste - Paste As New Layer on your working image
Activate the Pick Tool (K)
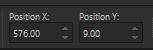
Enter these values for positions X and Y on the Toolbar
X: 576.00 Y: 9.00
Press M on your keyboard to release the Pick Tool
(Note: When using your own tubes - position the text to your own liking)
Step 31
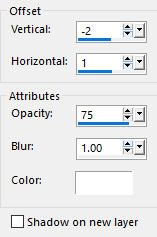
Effects - 3D Effects - Drop Shadow (-2/1/75/1) color white #ffffff - Shadow on new layer not checked
Step 32
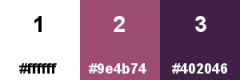
Image - Add Borders - 1px - Symmetric checked - color 3 ![]() #402046
#402046
Image - Add Borders - 2px - Symmetric checked - color 1 ![]() #ffffff
#ffffff
Image - Add Borders - 1px - Symmetric checked - color 3 ![]() #402046
#402046
Step 33
Selections - Select All
Image - Add Borders - 50px - Symmetric checked - color 1 ![]() #ffffff
#ffffff
Selections - Invert
Flood fill tool / Fill in the layer with the Suburst gradient
Step 34
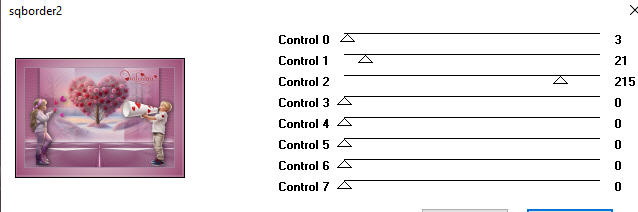
Effects - Plugins - [AFS IMPORT] - Sqborder2
Step 35
Selections - Invert
Step 36
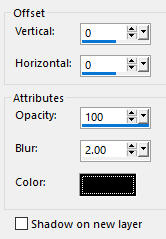
Effects - 3D Effects - Drop Shadow (0/0/100/2) color black #000000 - Shadow on new layer not checked
Step 37
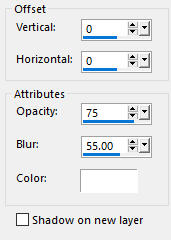
Effects - 3D Effects - Drop Shadow (0/0/75/55) color 1 ![]() #ffffff - Shadow on new layer not checked
#ffffff - Shadow on new layer not checked
Selections - Select None
Step 38
Image - Add Borders - 1px - Symmetric checked - color 2 - ![]() #9e4b74
#9e4b74
Step 39
Layers - New Raster Layer
Add your name or watermark
Step 40
Layers - Merge - Merge All (Flatten)
Image - Resize - 900 pixels width (the height will adapt)
File - Export - Save as JPG file
***
I hope you enjoyed this tutorial.
If you do this tutorial, please email your version to me
my email address -
~~~~~~~~~~
My second version in a different color
Tubes used - dolls couple by Gerda Poser Tubes and my own
~~~~~~~~~~
Your Versions
Thank you so much Franie Margot for your magnificent versions


~~~~~~~~~~
Thank you so much Andrea (Sternchens)for your magnificent version

~~~~~~~~~~
1 2
~~~~~~~~~~
![]()