


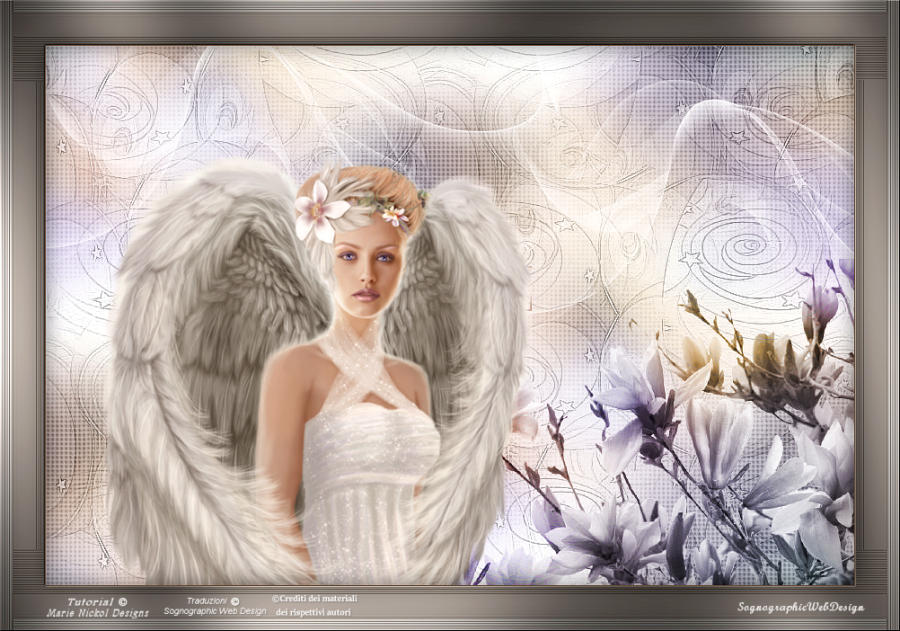
The Tutorial
Step 1
File - New - Open a new Transparent image 900 x 600 pixels
Step 2
Selections - Select All
Step 3
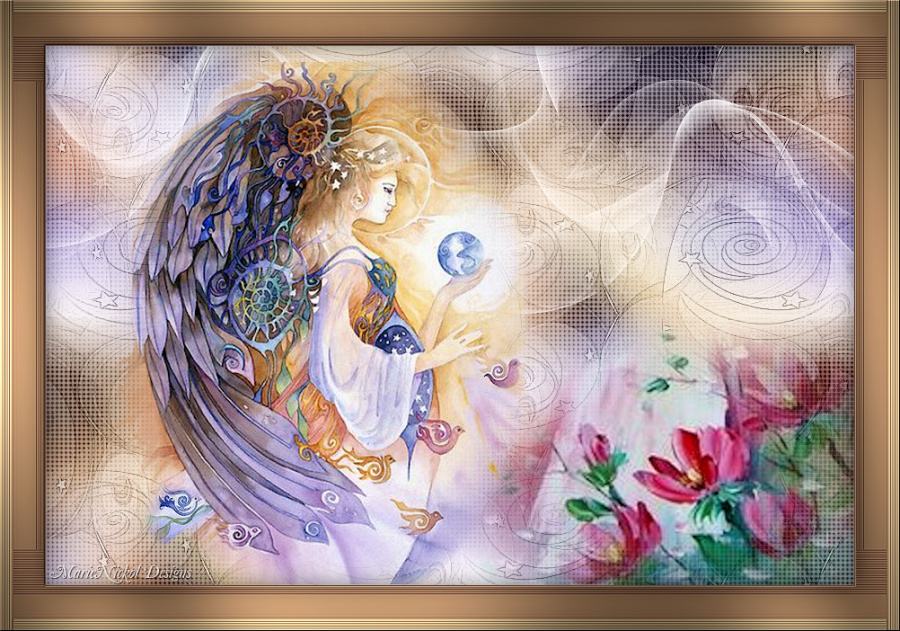
Open tube - mnangel_misted01
Edit - Copy
Edit - Paste - Paste into Selection on your working image
Step 4
Selections - Select None
Step 5
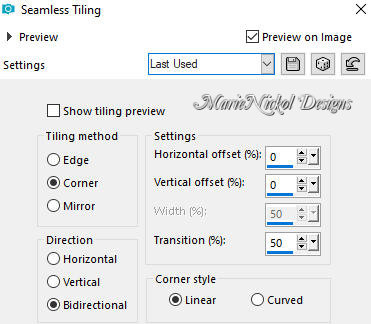
Effects - Image Effects - Seamless Tiling (default settings)
Step 6
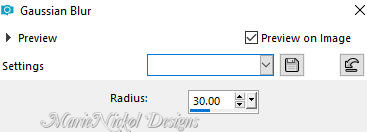
Adjust - Blur - Gaussian Blur (Radius 30)
Step 7
Layers - Merge - Merge All (Flatten)
Step 8
Layers - Promote Background Layer
Step 9
Layers - Duplicate
Step 10
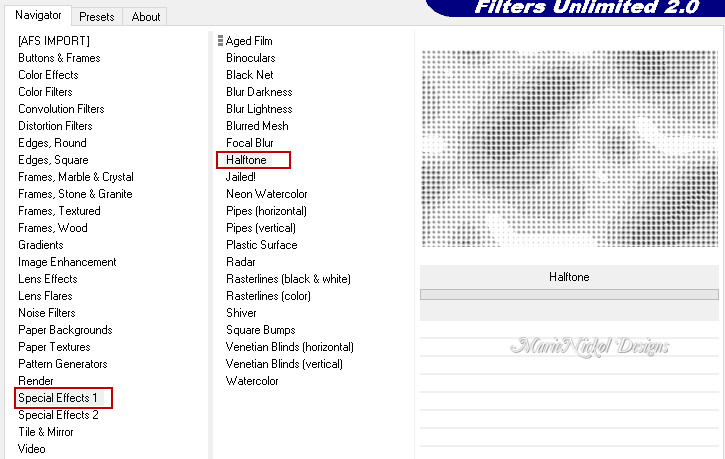
Effects - Plugins - <I.C.NET Software> - Filters Unlimited 2.0 - Special Effects 1 - Halftone
Step 11
In your Layer Properties - set the Blend mode to Burn
Step 12
Layers - New Raster Layer
Step 13
Flood fill tool / Fill in the layer with your color 1 ![]() #ffffff
#ffffff
Step 14
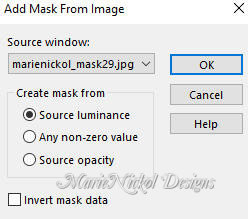
Open mask - marienickol_mask29
Layers - New Mask Layer - From Image (Invert mask data not checked)
Step 15
Layers - Merge - Merge Group
Step 16
Adjust - Sharpness- Sharpen More
Effects - Edge Effects - Enhance
Step 17
Layers - New Raster Layer
Step 18
Flood fill tool / Fill in the layer with your color 1 ![]() #ffffff
#ffffff
Step 19
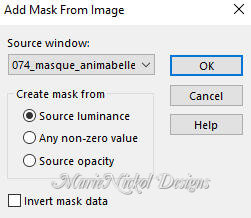
Open mask - 074_masque_animabelle
Layers - New Mask Layer - From Image (Invert mask data not checked)
Step 20
Layers - Merge - Merge Group
Step 21
Activate the Pick Tool (K)![]() - Enter these values for positions X and Y on the Toolbar:
- Enter these values for positions X and Y on the Toolbar:
X (328.00) Y (2.00)
![]()
Press M to release the Pick Tool
Step 22
Layers - Duplicate
Step 23
Activate the Pick Tool (K)![]() - Enter these values for positions X and Y on the Toolbar:
- Enter these values for positions X and Y on the Toolbar:
X (-207.00) Y (-71.00)
![]()
Press M to release the Pick Tool
Step 24
Activate the bottom layer - Raster 1
Step 25
Selections - Select All
Step 26
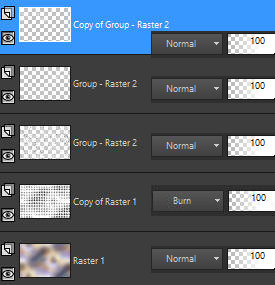
Activate the top layer - Copy of Group - Raster 2
Step 27
Image - Crop to Selection
Your layers look like this:
Step 28
Layers - Merge - Merge Visible
Step 29
Open tube - mnflowers_misted028
Edit - Copy
Edit - Paste - Paste As New Layer on your working image
Step 30
Effects - Image Effects - Offset
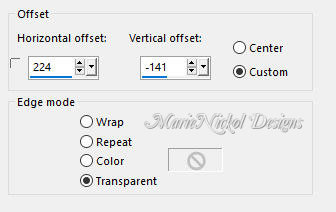
Note: If you are using your own misted flower image, move it to the bottom right side as shown on the final result
Step 31
Open tube - mnangel_misted01
Edit - Copy
Edit - Paste - Paste As New Layer on your working image
Step 32
Effects - Image Effects - Offset
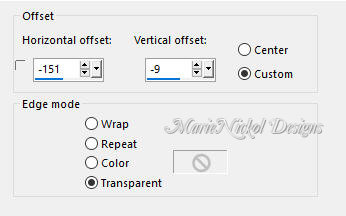
Note: If you are using your own misted image, move it to the left side as shown on the final result
Step 33
Layers - Duplicate
(Note: This is optional - if you use another tube, you may not need to duplicate the layer)
Step 32
Image - Add Borders - 1 px - Symmetric checked color 2 ![]() #906c50
#906c50
Step 33
Selections - Select All
Step 34
Image - Add Borders - 50 px - Symmetric checked color 3 ![]() #5a2b22
#5a2b22
Step 35
Selections - Invert
Step 36
Layers - New Raster Layer
Step 37
Material Properties - Set your Foreground color to color 4 ![]() #ebdba6
#ebdba6
Flood fill tool / Fill in the layer with your color 4 ![]() #ebdba6
#ebdba6
Step 38
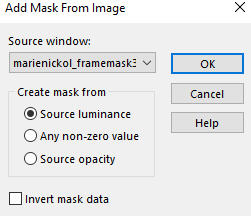
Open mask - marienickol_framemask30
Layers - New Mask Layer - From Image (Invert mask data not checked)
Step 39
Layers - Merge - Merge Group
Step 40
Effects - Edge Effects - Enhance
Step 41
Layers - Merge - Merge Down
Step 42
Effects - Plugins - Tramages - Pool Shadow
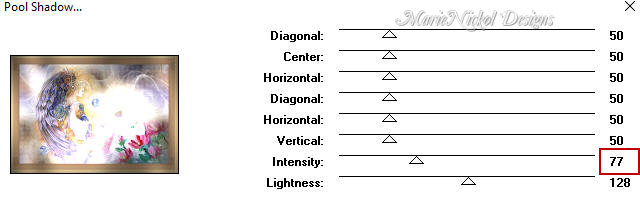
(Note: If you use other colors, play with the Intensity and Lightness to suit your colors)
Step 43
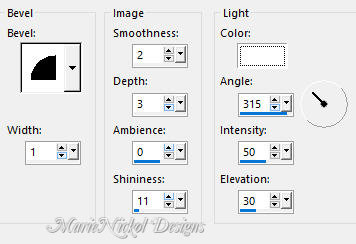
Effects - 3D Effects - Inner Bevel
Step 44
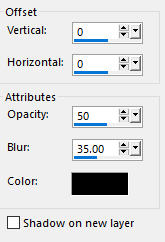
Effects - 3D Effects - Drop Shadow (0/0/50/35) color black #000000 - Shadow on new layer not checked
Step 45
Selections - Invert
Step 46
Effects - 3D Effects - Drop Shadow (0/0/50/35) color black #000000 - Shadow on new layer not checked
Step 47
Selections - Select None
Step 48
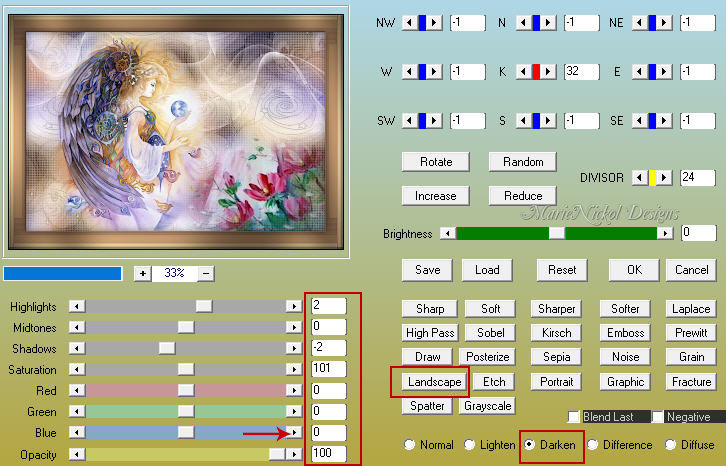
Effects - Plugins - AAA Filters - Custom
Click on Landscape - set the Blue color to 0 - click on Darken - click OK
Note: this step is optional - if you are using other colors, you may click on Landscape and then OK
Step 49
Layers - New Raster Layer
Add your name or watermark
Step 50
Layers - Merge - Merge All (Flatten)
Image - Resize - 900 pixels width (the height will adapt)
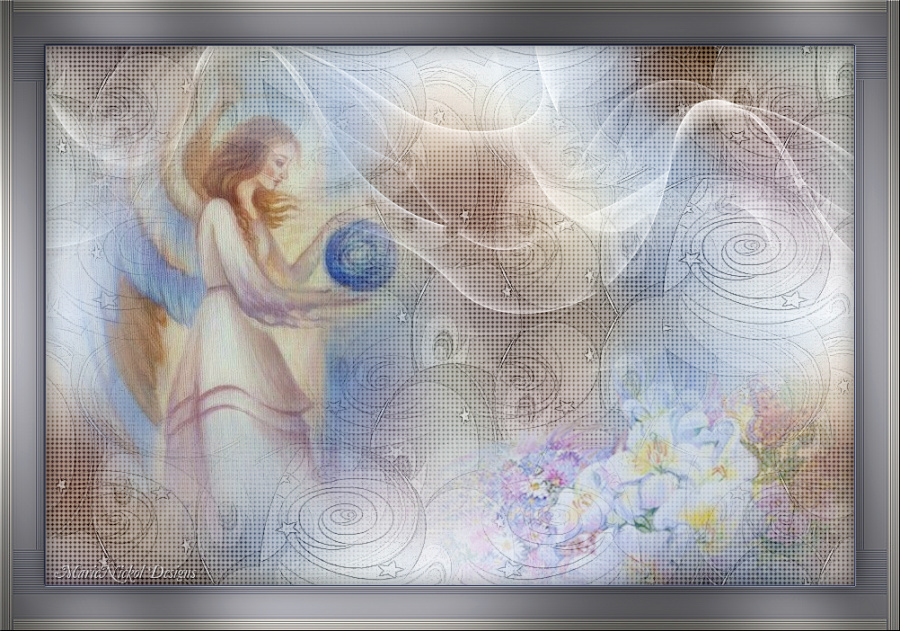
File - Export - Save as JPG file
***
I hope you enjoyed this tutorial.
If you do this tutorial, please email your version to me
my email address -
~~~~~~~~~~
My second version in a different color
Tubes used my own
~~~~~~~~~~
Your Versions
Thank you so much Sternchen for testing my tutorial and your magnificent version
~~~~~~~~~~
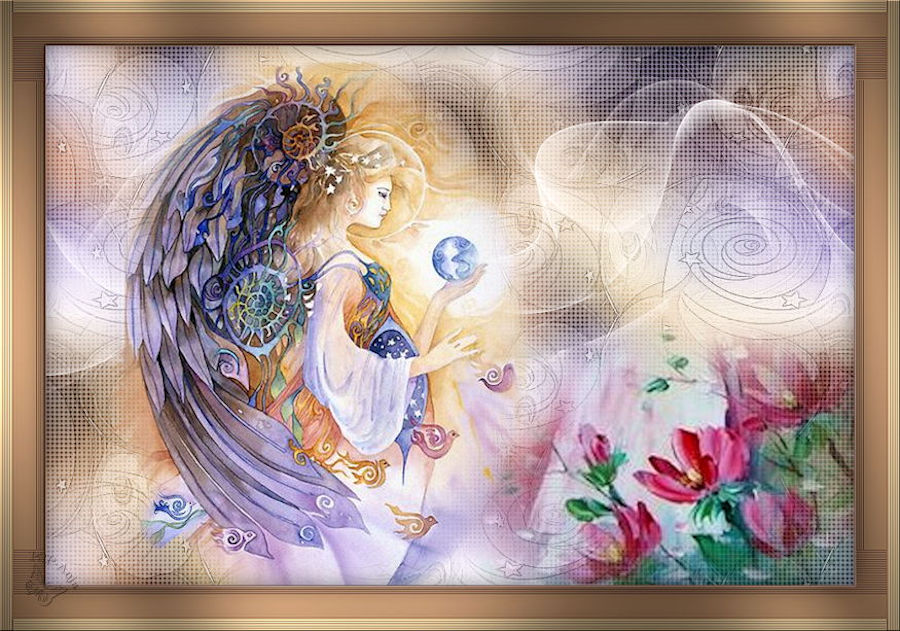
Thank you so much Anja your magnificent version
~~~~~~~~~~
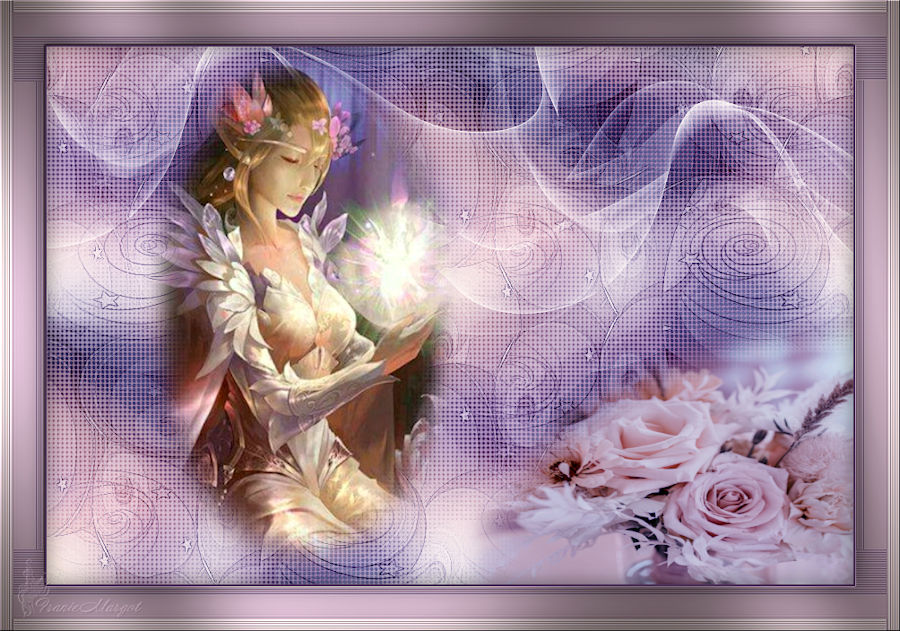
Thank you so much Franie Margot for your magnificent version
~~~~~~~~~~
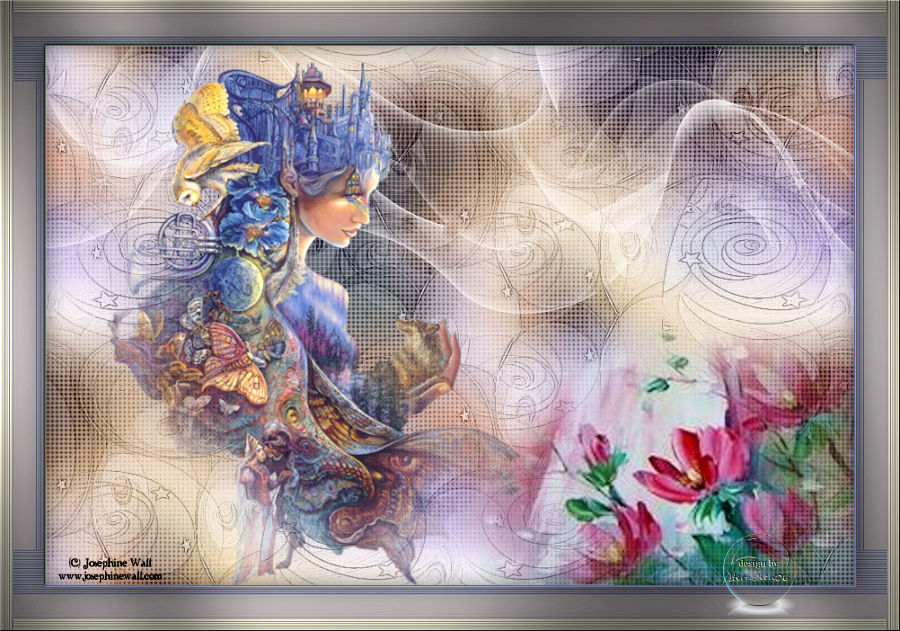
Thank you so much Isabella (Sognografica) for your magnificent version
~~~~~~~~~~
Thank you so much Loiva for your magnificent version

~~~~~~~~~~
1 2
![]()