


The Tutorial
Step 1
File - New - Open a new Transparent image 900 x 600 pixels
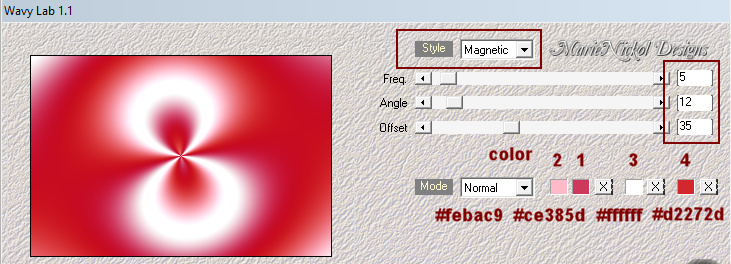
Effects - Plugins - Mehdi - Wavy Lab 1.1
Colors - 2 ![]() #ce385d / 1
#ce385d / 1 ![]() #ce385d / 3
#ce385d / 3 ![]() #ffffff / 4
#ffffff / 4 ![]() #d2272d
#d2272d
Step 2
Layers - Duplicate
Image - Resize - 80% - Resize All Layers - Not Checked
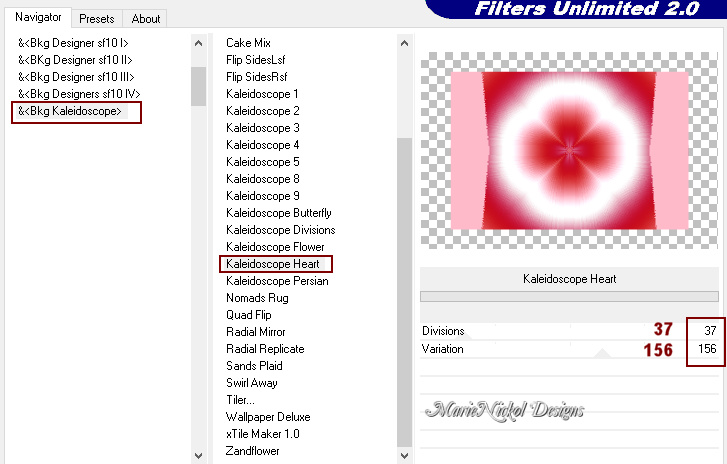
Filters Unlimited 2.0 - &<Bkg Kaleidoscope - Kaleidoscope Heart
Step 3
Selections - Load/Save Selection - Load Selection From Disk
Look for and load the selection - mnsel1_sides

Press Detele on your keyboard
Selections - Select None
Step 4
Edit - Cut
Edit - Paste As New Image
Minimize your working image for a while
We will proceed on this new image - it's size is 526 x 480 pixels
Step 5
Layers - New Raster Layer
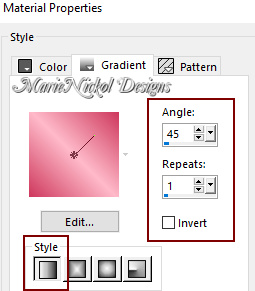
Flood fill tool / Fill in the layer with the Linear Style gradient prepared above - Angle 45 and Repeats 1
Colors 1 ![]() #ce385d and 2
#ce385d and 2 ![]() #febac9
#febac9
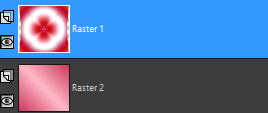
Layers - Arrange - Send to Bottom
Your layers look like this
Step 6
Activate the top layer -Raster 1
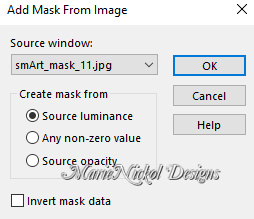
Open mask - smArt_mask_11
Layers - New Mask Layer - From Image (Invert mask data not checked)
Layers - Merge - Merge Group
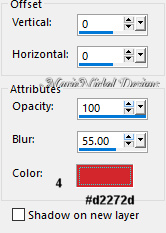
Effects - 3D Effects - Drop Shadow (0/0/100/55) color 4 ![]() #d2272d - Shadow on new layer not checked
#d2272d - Shadow on new layer not checked
Layers - Merge - Merge Visible
Edit - Copy
Step 7
Activate your minimized working image
Edit - Paste - Paste As New Layer on your working image
You may close the small image - you won't need it anymore
Your working image layers look like this
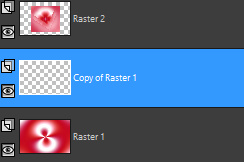
Layers - Delete - Copy of Raster 1
Step 8
Activate the top layer - Raster 2
Selections - Select All
Selections - Float
Selections - Defloat
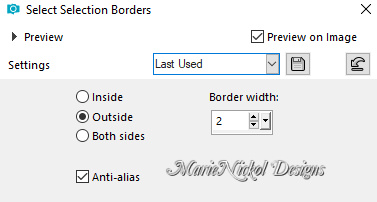
Selections - Modify - Select Selections Borders
Materials Properties: Set your Backgroundcolor to color 3 ![]() #ffffff
#ffffff
Layers - New Raster Layer
Flood fill tool /Fill in the Selection with the Background Color 3 ![]() #ffffff
#ffffff
Selections - Select None
Layers - Merge - Merge Down
Step 9
Objects - Align - Top
Note: If you do not have the Command Objects on your version of PSP use the Pick Tool (K)
Activate the Pick Tool (K)![]() - Enter these values for positions X and Y on the Toolbar:
- Enter these values for positions X and Y on the Toolbar:
X 185.00 Y 0.00
![]()
Press M to release the Pick Tool
Effects - 3D Effects - Drop Shadow (0/0/100/46) color 5 ![]() #981417 - Shadow on new layer not checked
#981417 - Shadow on new layer not checked

Step 10
Activate the bottom layer - Raster 1
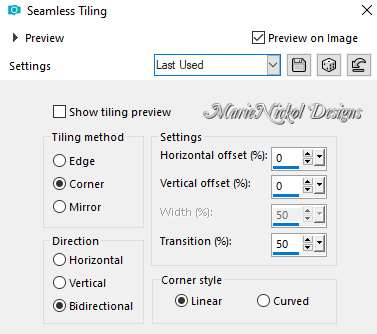
Effects - Image Effects - Seamless Tiling (default settings)
Step 11
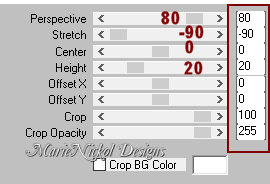
Effects - Plugins - Mura's Meister - Perspective Tiling
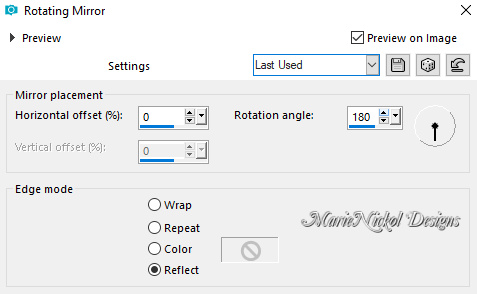
Effects - Reflection Effects - Rotating Mirror
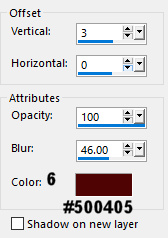
Effects - 3D Effects - Drop Shadow (3/0/100/46) color 6 ![]() #500405 - Shadow on new layer not checked
#500405 - Shadow on new layer not checked
Step 12
Layers - New Raster Layer
Flood fill tool /Fill in the Layer with the Foregound Color - color 1 ![]() #ce385d
#ce385d
Layers - Arrange - Send to Bottom
Step 13
Activate the layer above - Raster 1
Open tube - deco_element
Edit - Copy
Edit - Paste - Paste As New Layer on your working image
Objects - Align - Top
Objects - Align - Left
Note: If you do not have the Command Objects on your version of PSP use the Pick Tool (K)
Activate the Pick Tool (K)![]() - Enter these values for positions X and Y on the Toolbar:
- Enter these values for positions X and Y on the Toolbar:
X 0.00 Y 0.00
![]()
Press M to release the Pick Tool
Step 14
Layers - Duplicate
Image - Mirror
Layers - Merge - Merge Down
Step 15
Activate the top layer - Raster 2
Layers - New Raster Layer
Flood fill tool /Fill in the Selection with the Background Color 3 ![]() #ffffff
#ffffff
Step 16
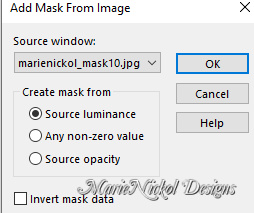
Open mask - marienickol_mask10
Layers - New Mask Layer - From Image (Invert mask data not checked)
Effects - Edge Effects - Enhance More
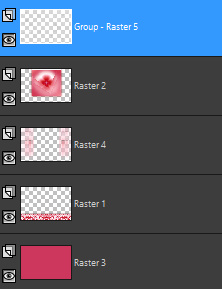
Layers - Merge - Merge Group
Your layers look like this
Step 17
Layers - New Raster Layer
Materials Properties: Set your Background color to color 4 ![]() #d2272d
#d2272d
Materials Properties: Set your Foreground Color to foreground-background Linear gradient (Corel_06_029) with the following settings
color 1 ![]() #ce385d and color 4
#ce385d and color 4 ![]() #d2272d
#d2272d

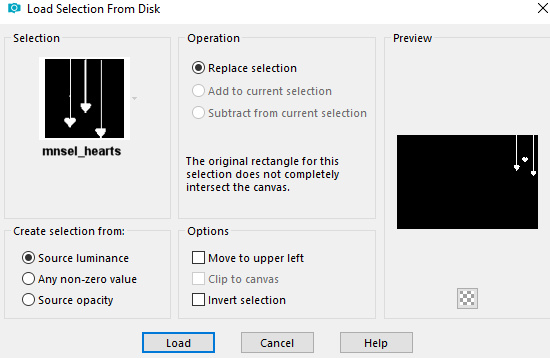
Selections - Load/Save Selection - Load Selection From Disk
Look for and load the selection -mnsel_hearts
Flood fill tool / Fill in the Selection - with the gradient prepared above
Selections - Select None
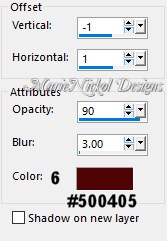
Effects - 3D Effects - Drop Shadow (-1/1/90/3.00/) color 6 ![]() #500405 - Shadow on new layer not checked
#500405 - Shadow on new layer not checked
Step 18
Layers - Duplicate
Image - Mirror
Layers - Merge - Merge Down
Step 19
Layers - New Raster Layer
Selections - Load/Save Selection - Load Selection From Disk
Look for and load the selection -mnsel2_text
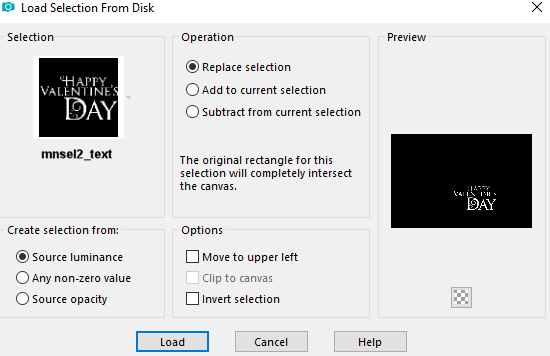
Flood fill tool / Fill in the Selection - with the same gradient prepared above
Selections - Select None
(Note: You may use your wordart or text)
Step 20
Open the character tube - marienickoldesigns_woman37
Copy the middle layer - Raster 1
Edit - Copy
Edit - Paste - Paste As New Layer on your working image
Image - Resize - 72% - Resize All Layers - Not Checked
Activate the Pick Tool (K) ![]() - Enter these values for positions X and Y on the Toolbar:
- Enter these values for positions X and Y on the Toolbar:
X 92.00 Y 27.00
![]()
Effects - 3D Effects - Drop Shadow (0/0/50/25) color black #000000 - Shadow on new layer not checked
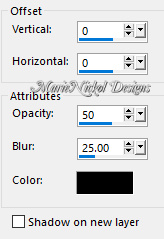
(Note: You may apply drop shadow to your own liking accoding to your own tube)
Step 21
Open the deco tube - Wieskes tube 1488
Remove the watermark from the tube
Edit - Copy
Edit - Paste - Paste As New Layer on your working image
Image - Resize - 75% - Resize All Layers - Not Checked
Image - Mirror
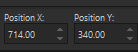
Activate the Pick Tool (K) ![]() - Enter these values for positions X and Y on the Toolbar:
- Enter these values for positions X and Y on the Toolbar:
X 714.00 Y 340.00
Effects - 3D Effects - Drop Shadow (0/0/50/25) color black #000000 - Shadow on new layer not checked
(Note: You may apply drop shadow to your own liking accoding to your own tube)
Step 22
Image - Add Borders - 2 px - Symmetric checked color 1 ![]() #ce385d
#ce385d
Image - Add Borders - 3 px - Symmetric checked color 3 ![]() #ffffff
#ffffff
Image - Add Borders - 2 px - Symmetric checked color 1 ![]() #ce385d
#ce385d
Image - Add Borders - 50 px - Symmetric checked color 3 ![]() #ffffff
#ffffff
Step 23
Open deco tube - cornerhearts
Edit - Copy
Edit - Paste - Paste As New Layer on your working image
Activate the Pick Tool (K) ![]() - Enter these values for positions X and Y on the Toolbar:
- Enter these values for positions X and Y on the Toolbar:
X 17.00 Y 604.00
![]()
Layers - Duplicate
Image - Mirror
Layers - Duplicate
Image - Flip
Layers - Duplicate
Image - Mirror
Step 24
Image - Add Borders - 2 px - Symmetric checked color 1 ![]() #ce385d
#ce385d
Step 25
Layers - New Raster Layer
Add your name or watermark
Layers - Merge - Merge All (Flatten)
Image - Resize - 900 pixels width (the height will adapt)
File - Export - Save as JPG file
***
I hope you enjoyed this tutorial.
~~~~~~~~~~
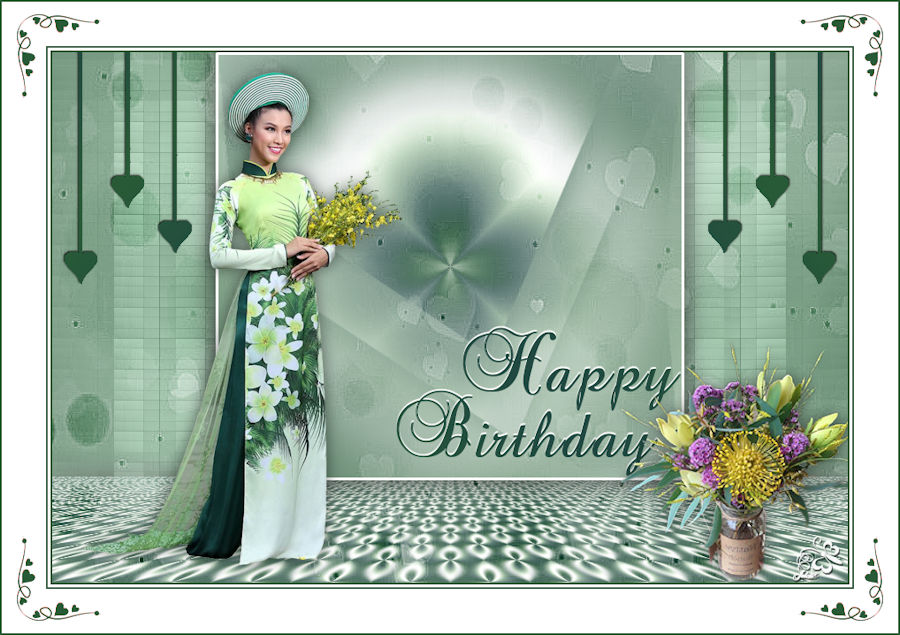
My second version in different color and Birthday greeting
Tubes used woman by my own and deco vase by Colybrix

~~~~~~~~~~
My third version in different color and Birthday greeting
Tubes used woman by Bea and deco vase by Isa

~~~~~~~~~~
Your Versions
Thank you so much Isabella (Sognografica) for your beautiful creation!

~~~~~~~~~~
Thank you so much Andrea for your beautiful creation!

~~~~~~~~~~
Thank you so much Jolcsi for your beautiful creation!
~~~~~~~~~~
Thank you so much Loiva for your beautiful creation!

~~~~~~~~~~
![]()